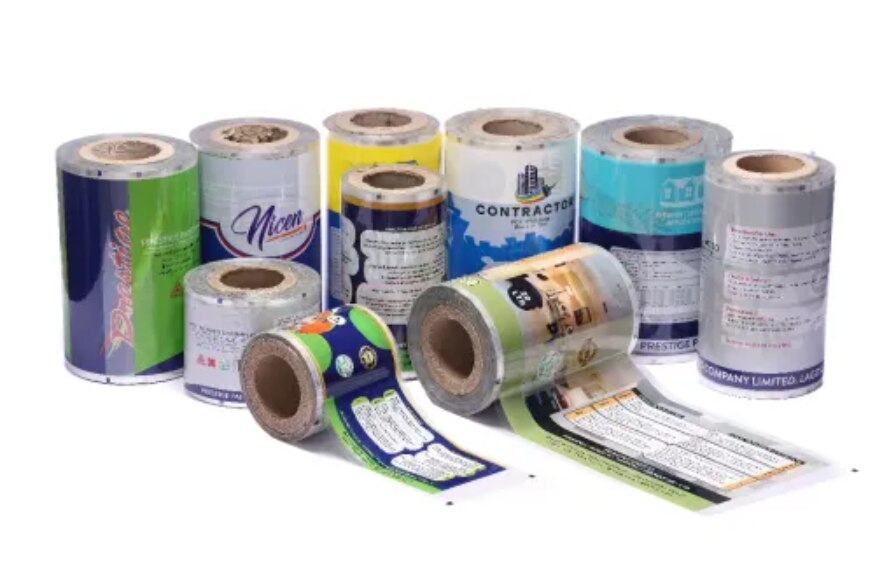
A finished transfer can fail long before it reaches the filling line: an unapproved colour, incorrect carrier orientation, poor die registration, or an unsuitable application setting can turn a good design into production waste. You will be able to trace each production checkpoint, prepare a usable specification, validate the bond on your actual pack, and decide whether this decoration method suits your line.
Key takeaways
- Approve artwork, materials, dimensions, and application conditions before printing.
- Control release coating, ink layers, adhesive, temperature, pressure, and dwell time.
- Trial each packaging surface for adhesion, appearance, scuffing, and pack-line performance.
- Request documented test results and retain approved samples for production comparison.
What goes into a heat transfer label before printing begins?
A heat transfer label is built on a temporary carrier or transfer film, not directly on the package. The carrier receives a release treatment so the decoration separates after heat, pressure, and dwell activate the bonding layer.
The artwork is printed in reverse: the final visible image faces the package after transfer. A typical stack contains the carrier, release treatment, reverse-printed ink layers, dense white or colour backing, heat-activated adhesive, and, when required, a protective coating.
The receiving substrate changes opacity and colour; dark, transparent, glossy, textured, or low-energy surfaces can alter the result.
- Supply production artwork as PDF, AI, or EPS. Keep text as vector artwork or outline every font, and include the intended colour references.
- Add bleed beyond the cut edge, state the repeat dimensions and orientation, and identify roll or sheet registration marks if required.
- Confirm the supplier’s minimums before approval. A practical starting point is 5 pt positive text, 6 pt reversed text, and 0.25 mm lines, but the ink system and transfer size can require larger features.
- Keep every barcode’s quiet zone clear of artwork, coating, and cut lines. Provide the barcode type and final target dimensions.
- Approve colour on the intended carrier, ink stack, and final packaging surface. CMYK or Pantone values alone cannot predict appearance because substrate colour, adhesive opacity, ink transparency, curing, and gloss change the perceived match.
Approve a physical proof or drawdown before production. A screen preview can match the file yet fail after transfer. This matters most for custom heat transfer labels with white, metallic, fine, or closely matched colours.
How does the heat transfer label process turn approved artwork into rolls or sheets?
Approved artwork enters production as separated colour layers, not as a single finished image. The heat transfer label process converts those layers into a reverse-printed stack on a prepared carrier, then finishes it for controlled application.
1. Separate colours and prepare the carrier. The artwork is split into printing channels, including white, process colours, spot colours, or metallic layers. The carrier receives its specified release coat so the completed image separates cleanly after heat and pressure.
2. Choose the ink system. Screen printing deposits dense white, solid colour, and metallic effects with strong opacity, but tooling adds cost and fine gradients can be difficult.
Digital printing suits short runs and multi-colour artwork, reproduces fine text and gradients efficiently, and avoids screens, but ink-film thickness, metallic options, colour consistency, and unit cost depend on the equipment and quantity.
3. Print the reverse image, then add the adhesive or bonding layer. The construction can include white ink for opacity, colour layers, a protective coat, and heat-activated adhesive. Drying or curing must reach the specified condition; incomplete curing can cause blocking, poor release, or transfer failure.
4. Inspect registration between colours, then die-cut the label shape. Remove matrix waste, check the gap or eye-mark, and reject registration errors before slitting. Late artwork changes, colour approval, tooling, minimum-order constraints, curing checks, and application trials can all delay release.
5. Slit the web, rewind it to the required core and wind direction, or guillotine it into sheets. Rolls and sheets preserve orientation and registration better than loose labels, which are harder to feed and align. Pack them sealed with batch identification and application instructions.
How do you apply a transfer to different packaging surfaces?
A transfer that bonds to cotton can fail on a coated film, so copy no application setting from another job. Validate temperature, pressure, dwell time, peel timing, and cooling on the actual pack, adhesive construction, and production equipment.
1. Set the carrier with the printed image correctly oriented, align the repeat or registration mark, and confirm that the receiving surface is flat and supported. Use a heated press for controlled, repeatable contact; use a heat tunnel for continuous lines; use an automated applicator when placement, pressure, and speed must remain consistent.
A controlled manual tool suits trials and low-volume work, not uncontrolled production.
2. Prepare the surface before heating. Remove oil, dust, moisture, silicone, mould-release residue, and plasticizer contamination with a cleaning method compatible with the package. Residue creates edge lift or bubbles even when the temperature is correct.
3. Establish a setting window for each material: cotton, polyester, coated plastics, glass, metal, films, and other substrates. Excessive heat can distort heat-sensitive plastics, shrink films, soften coatings, or mark the pack; insufficient heat leaves incomplete transfer and weak edges. Low-surface-energy polyolefins can resist bonding without suitable treatment or adhesive selection.
4. Control contact across the whole image, then follow the specified hot, warm, or cold peel timing. Removing the carrier too early can pull the design away; removing it too late can cause lifting or damage. Allow the decoration to cool before stacking or flexing it.
5. Run custom heat transfer labels on curved, rough, high-relief, coated, or contaminated packs before production approval. Check adhesion, wrinkles, bubbles, alignment, and distortion after filling-line handling, condensation, refrigeration, oil, detergent, or abrasion exposure. Apparel-style performance does not prove packaging suitability.
How can you prove the transfer and the finished pack are acceptable?
Approve a written specification before production: label width and length, print registration, colour tolerance against an approved drawdown, splice limits, carrier orientation, core diameter, maximum roll diameter, wind direction, application direction, gap or eye-mark requirements, and batch identification. Confirm the carrier type and storage limits too; missing roll details can force re-slitting or manual rework.
- Inspect the heat transfer label process output for lifting, bubbles, wrinkles, ghosting, incomplete transfer, edge lift, and blocking after storage. Compare defects with the application record: incorrect temperature, pressure, dwell time, or peel timing points to application; oil, dust, moisture, silicone, or an incompatible substrate points to surface or material failure. A clean, repeated print defect indicates printing or registration instead.
- Screen bond with a tape-pull or cross-cut method such as ASTM D3359 or ISO 2409. ISO 2409 rates cross-cut adhesion from 0 to 5; neither method replaces end-use testing.
- Test the finished pack with rub, abrasion, wash, flex, detergent, oil, solvent, condensation, or sunlight exposure selected for its service conditions. Verify barcodes after transfer on the final curved or glossy pack; use ISO/IEC 15416 for linear codes where applicable, checking quiet zones, contrast, modulation, and decode quality.
- Store heat transfer labels in sealed packaging under controlled heat and humidity, then acclimatise them before application. Uncontrolled storage can cause blocking, curl, release changes, or ink-surface damage even after a successful production trial.
When should you choose this route, and what should a supplier trial prove?
Choose heat transfer labels for a clean, targeted decoration when the pack can tolerate controlled heat and pressure. They suit spot or panel graphics, but not full 360-degree coverage. Compare the route against alternatives before buying:
| Route | Equipment | Coverage and changeover | Rework and recyclability |
|---|---|---|---|
| Heat transfer labels | Controlled heat, pressure and dwell | Spot decoration; tooling and settings change between jobs | Misapplication can require pack replacement; assess the transferred layers with the pack’s recycling stream |
| Self-adhesive labels | Label applicator | Spot or partial coverage; usually simpler changeovers | Misalignment permits rework, but adhesive residue can complicate recycling |
| In-mould labels | Injection or blow-moulding tool | Integrated full-body decoration; mould and label changes take production planning | Low post-application rework; label and resin must suit the recycling system |
| Wrap-around BOPP | Glue applicator | Broad cylindrical coverage; fast line changes after setup | Open seams or glue faults create rework; film and adhesive affect recovery |
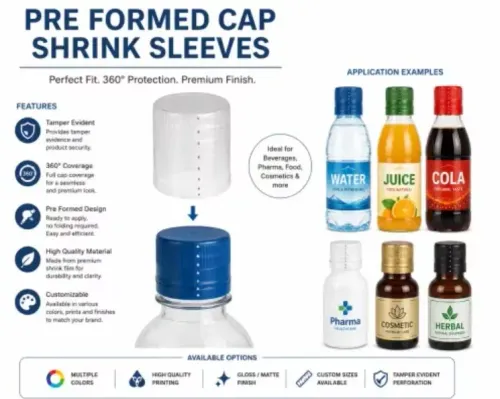
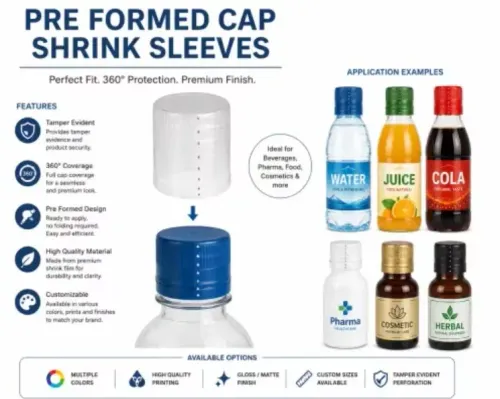
| Shrink sleeves | Sleeve applicator and heat tunnel | Near-360-degree coverage; artwork changes require sleeve and tunnel setup | Wrinkles and poor shrinking waste packs; sleeve removal may be needed for recycling |
Reject this route for contaminated or heat-sensitive surfaces, high-relief containers, lines without controlled heat and pressure, or packs needing variable data at packing.
A supplier trial must use your actual substrate, shape, equipment and line speed. Specify label dimensions, artwork, colour target, end-use exposure, quantity, storage conditions, and barcode verification. Crystal Vision Packaging Co, a heat transfer labels manufacturer, can use these inputs to discuss custom heat transfer labels and trial-based specification.
Store trial material sealed, then equilibrate it before application.
Related product
 | Heat Transfer Labels ₹0.50 Heat Transfer Labels are decorative labels applied to products using heat and pressure, transferring the printed design directly onto the surface. View product → |
Frequently asked questions
What goes into a heat transfer label before printing begins?
Define the artwork, label dimensions, carrier film, release coating, ink system, bonding layer, packaging substrate, and application conditions before printing. Confirm colour references, tolerances, winding direction, roll or sheet format, and required tests.
How does the heat transfer label process turn approved artwork into rolls or sheets?
The supplier prepares the carrier, applies the release coating, prints the artwork in controlled layers, adds the bonding layer, cures or dries the construction, and inspects it. The finished transfers are slit and wound into rolls or cut into sheets to match the application equipment.
How do you apply a transfer to different packaging surfaces?
Set temperature, pressure, and dwell time for the specific surface, then verify transfer quality on the actual packaging material. Test plastics, films, coated cartons, and other substrates separately because surface energy, texture, heat resistance, and curvature affect adhesion.
How can you prove the transfer and finished pack are acceptable?
Keep an approved reference sample and record test results for adhesion, appearance, registration, colour, scuff resistance, heat exposure, and pack-line handling. Inspect batch identification, label position, edge lift, wrinkles, incomplete transfer, and damage after application.
When should you choose heat transfer labels, and what should a supplier trial prove?
Choose this route when you need integrated decoration on shaped or flexible packaging and a separate label face is unsuitable. A supplier trial should prove application settings, adhesion, appearance, durability, line speed, waste levels, and repeatability on production packaging.