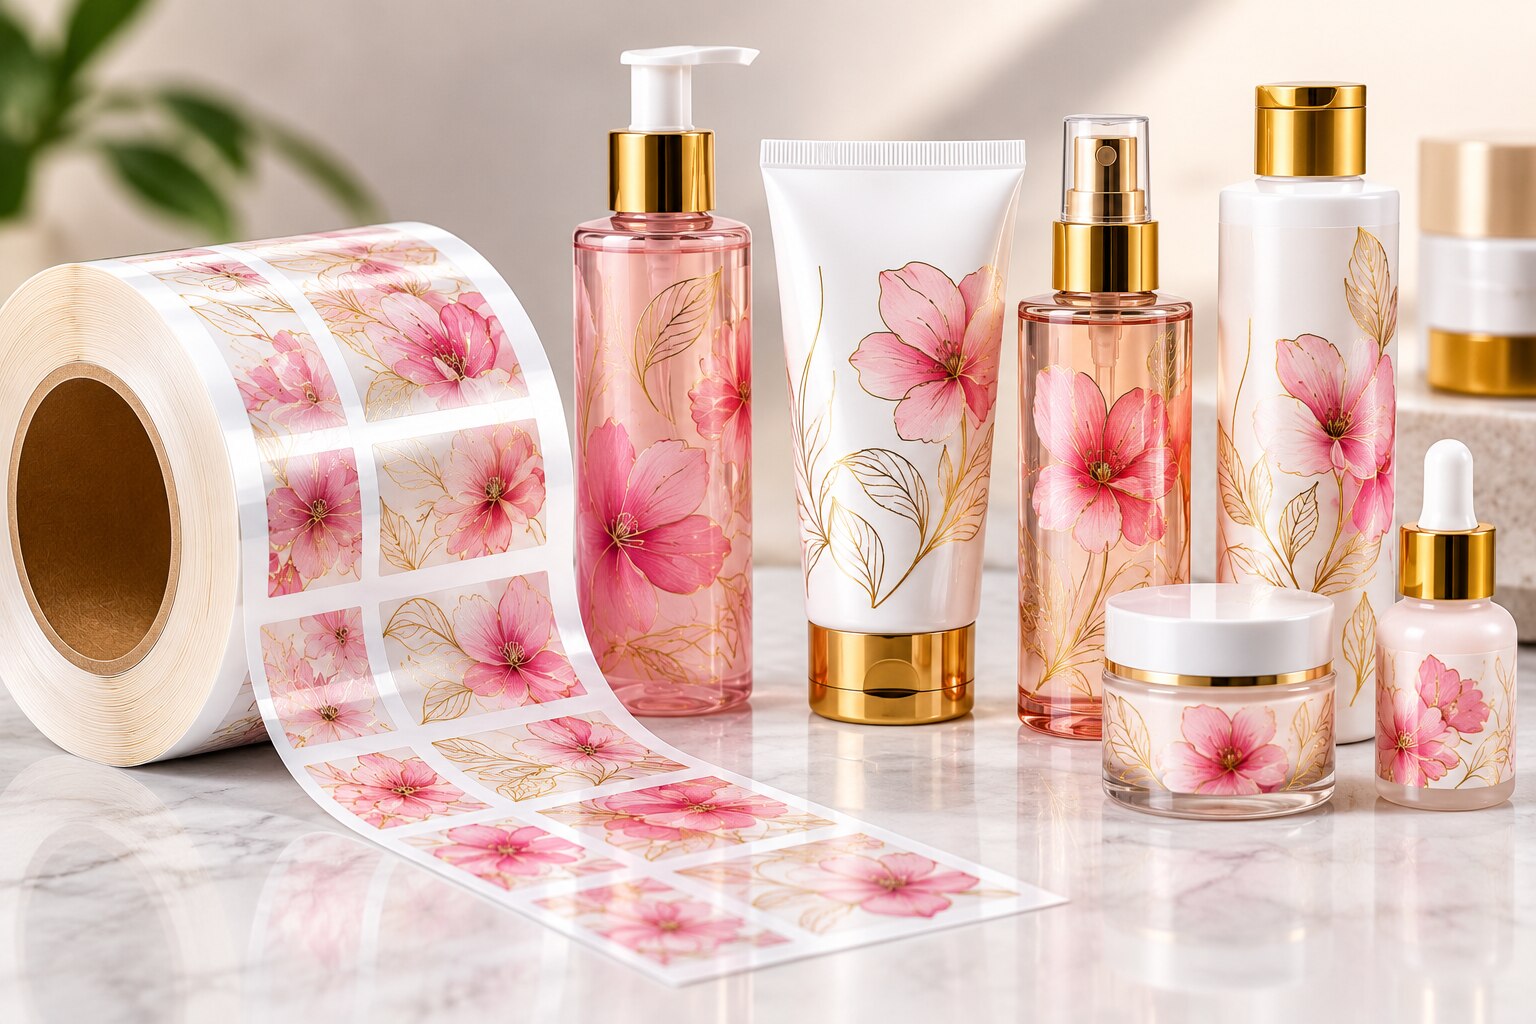
Colour loss on a cosmetic pack is not always UV fading: moisture, fragrance, rubbing, poor transfer settings and container surface problems can create similar marks. By the end, you will be able to identify the failure pattern, check the application process, test the filled pack and decide whether the label construction or packaging system needs changing.
Key takeaways
- Compare unused, freshly transferred, filled, transit, and shelf-exposed packs.
- Separate true colour fading from scuffing, poor transfer, and coating failure.
- Check temperature, dwell time, pressure, web tension, and pack surface condition.
- Run rub, adhesion, heat, chemical, UV, and aging tests before approval.
What does “fading” actually look like on a cosmetic pack?
True fading lightens colour across the exposed face; it does not scrape away the printed layer. Compare unused labels, freshly transferred packs, filled packs, transit samples and shelf-exposed packs before calling heat transfer labels fading a UV problem.
- A clean line between covered and exposed areas points to light. High-elevation UV in Sikkim can attack bright organic pigments, tints and magenta or red shades faster than a lowland warehouse check reveals.
- Colour on a dry or wet rub cloth points to abrasion, uncured ink or varnish, not simple fading. Wear concentrated on shoulders, corners, grip zones or high points suggests carton contact, bottle-to-bottle rubbing or wiping.
- Edge-first lifting indicates delamination or transfer failure. Look for a raised film, whitening, bubbles or a gap at the perimeter; condensation, surface contamination, pack curvature or insufficient heat, pressure or dwell can start it.
- Fine fissures indicate cracking, while bald spots or patchy graphics indicate incomplete transfer. These defects often appear immediately after application rather than after UV exposure.
Monsoon humidity, condensation, repeated wetting and drying, cold-to-warm changes and rough road movement create separate damage paths. A cold pack entering warm humid air can collect water below its surface temperature’s dew point, weakening adhesion and causing later edge lift.
For heat transfer labels for Sikkim fading problems, inspect under consistent lighting and record L*, a*, b* and ΔE before and after exposure. A pack that passes in a lowland warehouse can fail after higher-altitude transport or display because UV dose, moisture cycling and abrasion continue after approval.
Which application settings create heat transfer label problems?
A first-off check catches heat transfer label problems before a full batch repeats them. For heat transfer labels sikkim production, use the same container, carrier, ink stack and machine settings planned for the order.
- Clean and dry every container; remove dust, fingerprints, condensation and mould-release residue.
- Check surface energy, especially on untreated HDPE or PP, and confirm the transfer-head alignment.
- Validate temperature, pressure and dwell time together, then record line speed.
- Inspect first pieces under consistent lighting for pale areas, gaps, distortion and edge lift.
Do not copy a universal temperature. The operating window depends on the carrier, ink stack, varnish, container resin, curvature and machine; excess heat can distort film or soften ink, while insufficient heat leaves weak transfer.
| Defect | Likely application cause | Check first |
|---|---|---|
| Pale graphics | Insufficient heat, pressure or dwell | Compare settings with a fresh first-off |
| Uneven coverage | Contamination or head misalignment | Wipe the surface and verify head contact |
| Ghosting | Container movement or poor release | Secure the pack and inspect carrier release |
| Edge lift | Condensation, low surface energy or excess curvature | Equilibrate, dry and test the surface |
| Colour loss after rubbing | Under-cured ink or varnish, or weak anchorage | Run a rub check and inspect ink transfer |
Record photographs with the same lighting and viewing angle. A clean, dry container and a documented first-off give you a reliable baseline before changing the decoration specification.
Is the label failing, or is the cosmetic pack causing the failure?
Compare the same artwork and transfer construction on PET, HDPE, PP, glass and coated surfaces. If it fails on every substrate, investigate the ink, varnish, carrier or transfer settings; if it fails only on one pack, suspect the container.
| Substrate | What the comparison reveals | Common packaging cause |
|---|---|---|
| PET | Smooth, stable reference surface | Contamination or coating mismatch |
| HDPE | Low-energy surface behaviour | Mould-release residue or weak anchorage |
| PP | Polyolefin sensitivity | Untreated surface and selective lifting |
| Glass | High-energy, rigid surface | Usually exposes construction faults |
| Coated pack | Interaction with lacquer | Incompatible coating or gloss change |
Inspect shoulders, necks, corners and squeezable walls separately. Residual stress and curvature concentrate at these points, while pumps, sprays, tubes, caps and applicators repeatedly scrape the printed area. Compare empty and filled packs; filling can distort a flexible wall and move the decoration into the contact path.
Chemical attack can look like fading. Facial oils, body oils, sunscreen, alcohol, essential oils, fragrance compounds, surfactants and plasticisers can soften varnish, extract colour, change gloss or remove ink.
Test the actual formula, not only water or an empty bottle; otherwise cosmetic labels sikkim buyers approve may fail in use, producing heat transfer label problems that are blamed on the label itself.
Which tests should you run before approving the decoration?
Approve heat transfer labels fading only after testing production-equivalent containers filled with the actual formula. Empty components hide contact from pumps, sprays, tubes, jars, caps and applicators, while filling changes wall stress, handling and chemical exposure.
- Record baseline L*, a*, b* and ΔE using a stated illuminant and observer, such as D65 and 10°. Photograph each pack under fixed lighting.
- Run dry-rub and wet-rub tests separately. Inspect the cloth for ink transfer.
- Repeat contact with sunscreen or oil, then test alcohol resistance and detergent exposure using the actual products and cleaning process.
- Condition samples through humidity and condensation, then temperature cycling. Keep containers dry and thermally equilibrated before transfer.
- Expose samples to UV or xenon-arc light.
- Complete transport simulation with vibration, compression and bottle-to-bottle contact.
| Test | What it reveals | Inspect after exposure |
|---|---|---|
| Dry rub | Mechanical wear on a dry surface | Colour loss, scuffing, ink on cloth |
| Wet rub | Moisture-assisted abrasion | Whitening, streaks, transfer |
| Formula contact | Attack by sunscreen, oil or fragrance | Gloss change, softening, colour removal |
| Humidity and condensation | Moisture and dew-point failure | Pinholes, cracking, edge lift |
| UV or xenon arc | Light-driven colour change | L*, a*, b*, ΔE and yellowing |
| Transport simulation | Road movement and contact wear | Shoulder loss, carton scuffing |
After every exposure, repeat the colour readings and inspect gloss change, whitening, pinholes and cracking. Use a cross-hatch adhesion check; ASTM D3359 provides a common classification method for separating coating adhesion failure from surface wear. This sequence matters for cosmetic labels in Sikkim, where transport, monsoon moisture and strong sunlight can expose different weaknesses.
How do you correct the problem without choosing the wrong label specification?
Keep failed packs, unused labels, freshly transferred samples, filled samples, transit samples and shelf-exposed samples. Compare the same artwork under consistent lighting, then change one variable at a time.
- If freshly transferred samples fail, clean and dry the container, remove mould-release residue, allow the container and label to reach the validated process temperature, and check head alignment.
- If filled samples fail, test the actual formula against the ink and varnish system, including fragrance, oils, alcohol, sunscreen ingredients and surfactants.
- If transit samples fail, investigate rubbing, condensation, temperature cycling and rough-road movement.
- If only shelf-exposed samples fail, test the ink system under the actual UV exposure and record L*, a*, b* and ΔE.
| Stage | Evidence | Corrective direction |
|---|---|---|
| Transfer | Pale, incomplete or ghosted decoration | Adjust the validated heat-pressure-dwell window and line speed |
| Filling | Colour on contact points or changed gloss | Select compatible ink and varnish for the formula |
| Transport | Edge lift, scuffing or ink on rub cloth | Improve anchorage, alignment and pack protection |
| Display | Clean exposed-versus-covered colour boundary | Specify UV performance for the actual exposure |
An overvarnish can improve rub and chemical resistance, but it cannot automatically prevent UV fading. It can also change gloss, feel, colour density and recyclability; an under-cured varnish may become tacky.
For heat transfer labels for Sikkim fading problems, Crystal Vision Packaging Co can compare constructions on the actual container and document first-off and exposure results instead of relying on a visual promise. This is the safer approach when evaluating heat transfer labels Sikkim buyers will display or transport.
Related product
 | Heat Transfer Labels ₹0.50 Heat Transfer Labels are decorative labels applied to products using heat and pressure, transferring the printed design directly onto the surface. View product → |
Frequently asked questions
What does fading look like on a cosmetic pack?
True fading lightens colour across the exposed printed face. Scraping, peeling, patchiness, or missing ink points to abrasion, adhesion, or transfer failure instead.
Which application settings create heat transfer label problems?
Incorrect transfer temperature, dwell time, pressure, web tension, or registration can create weak adhesion, distortion, incomplete coverage, and later colour loss.
Is the label failing, or is the cosmetic pack causing the failure?
Inspect the pack surface, mould-release residue, curvature, coating, chemical contact, and storage conditions. These can prevent adhesion or attack the printed layer.
Which tests should you run before approving the decoration?
Compare retained samples and run rub, tape-adhesion, heat, chemical-resistance, UV, humidity, and accelerated-aging tests against filled packs and the intended environment.
How do you correct fading without choosing the wrong label specification?
Identify whether the cause is UV, chemicals, abrasion, transfer settings, or the container surface first. Then adjust the process or specify ink, film, and protective layers for that exposure.
Keywords